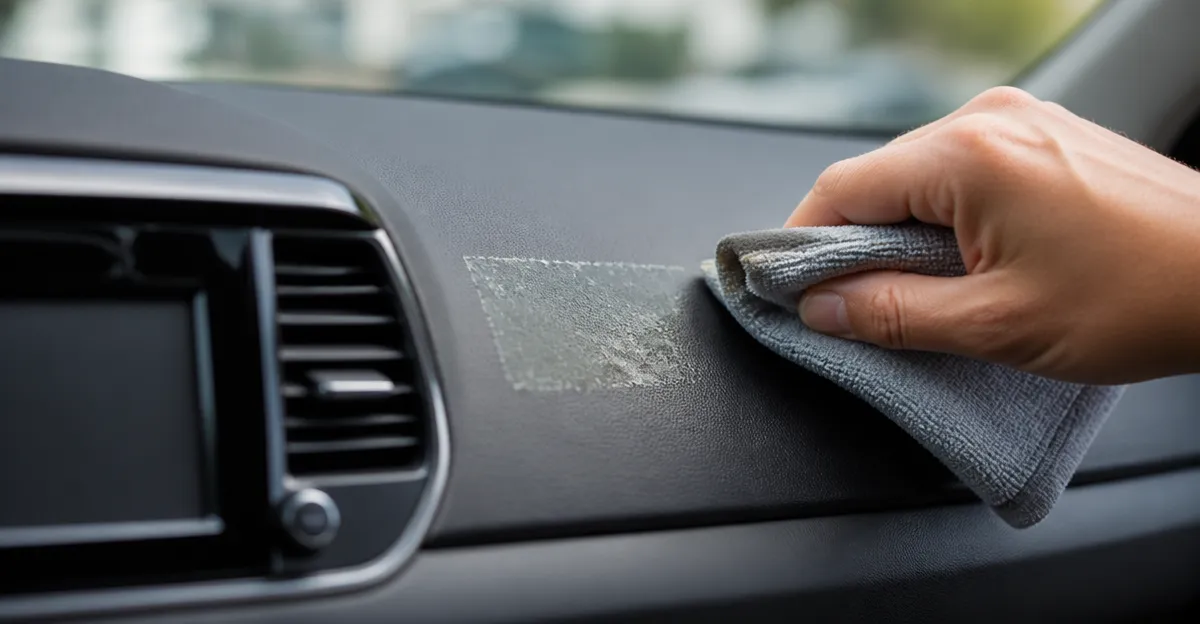
How to Remove Sticker Residue from a Car Dashboard: 3M Adhesive Remover vs Goo Gone vs WD-40
Introduction
The dashboard of a vehicle often accumulates adhesive remnants after the removal of promotional stickers, price tags or decorative decals. These residues can appear unsightly and may attract dust, reducing the perceived cleanliness of the interior. This guide explains how to eliminate sticker residue safely, preserving the finish of the dashboard while using readily available products. Readers will understand the comparative benefits of three leading adhesive removers and will acquire a repeatable process for future cleaning tasks.
Adhesive residues differ in composition; some contain rubber‑based polymers, while others rely on acrylic adhesives. The choice of remover therefore influences both effectiveness and the risk of surface damage. By selecting a product that matches the material of the dashboard, one can avoid unnecessary abrasion or discoloration. The following sections present a systematic approach that integrates product selection, preparation, application and final protection.
What You Will Need
- 3M Adhesive Remover – 12 oz aerosol, low VOC formula
- Goo Gone Original Adhesive Remover – 4 oz bottle
- WD-40 Lubricant Spray – 3 oz can
- Microfiber cleaning cloths (several)
- Plastic putty knife or non‑metal scraper
- Protective gloves
- Soft‑bristle brush (optional)
Step 1: Assess the Dashboard Surface
The first step involves a visual inspection of the dashboard to identify the type of material and the extent of adhesive coverage. Most modern dashboards consist of a soft‑touch polymer or leather‑like surface that can be sensitive to harsh solvents. One should verify that the surface is cool to the touch and free of direct sunlight, as heat can accelerate solvent evaporation and cause streaking. If the dashboard contains leather inserts, it is advisable to test any remover on an inconspicuous area for colour stability.
During this assessment, note whether the residue is thin film or thick, cured glue. Thin films respond well to light‑weight citrus‑based formulas such as Goo Gone Original Adhesive Remover. This product is praised for its surface‑safe citrus power and has a rating of 4.6 / 5.0 from 45,849 reviewers, indicating broad consumer confidence. The 4 oz size is priced at $8.00, offering an economical option for occasional use.
Step 2: Apply a Citrus‑Based Remover for Light Residue
If the adhesive appears as a light film, dispense a few drops of Goo Gone Original Adhesive Remover onto a microfiber cloth rather than directly onto the dashboard. The product’s quick‑clean claim ensures that the solvent does not pool, which is important on vertical surfaces. Allow the solvent to soak for approximately five minutes; this dwell time enables the citrus agents to break down the polymer bonds without excessive mechanical force.
After soaking, use a soft plastic putty knife to lift the softened adhesive gently. The tool’s non‑metal edge prevents scratching of the dashboard finish. Wipe the liberated residue with a clean section of the microfiber cloth, then follow with a damp cloth to remove any remaining oily film. The manufacturer recommends washing the area with hot, soapy water after use, a step that eliminates lingering citrus scent and ensures a neutral surface for subsequent protection.
Step 3: Deploy a Stronger Solvent for Stubborn Glue
When the residue is thick, cured or has been present for an extended period, a more aggressive solvent such as 3M Adhesive Remover is appropriate. This aerosol formulation contains a blend of non‑abrasive solvents that dissolve adhesive without harming cured automotive paints, a feature highlighted in its description. It is rated 4.4 / 5.0 by 1,041 reviewers and costs $12.99, offering a balance between potency and safety.
Shake the can well, then spray a thin, even mist over the adhesive area from a distance of six to eight inches. The low‑VOC (<20 %) composition reduces odor and environmental impact, which is advantageous for indoor use. Allow the solvent to act for three to five minutes; during this period the adhesive softens and can be lifted with a plastic scraper. After removal, wipe the surface with a damp microfiber cloth to clear solvent traces, and dry with a clean towel.
Step 4: Use WD‑40 for Final Residue Removal and Protection
After the bulk of the adhesive has been removed, a thin film of oily residue may remain, particularly when using petroleum‑based solvents. WD-40 Lubricant Spray excels at displacing moisture and residual oils, making it suitable for a finishing pass. The product is priced at $7.95 and holds a 4.4 / 5.0 rating from 852 reviewers, reflecting its long‑standing reputation among mechanics.
Spray a light mist onto a fresh microfiber cloth rather than directly onto the dashboard to avoid oversaturation. Gently rub the remaining spots; the lubricant will break down any lingering tackiness while leaving a protective film that repels dust. Conclude the process by wiping the area with a dry cloth, which restores the dashboard’s original sheen. The final step also prevents the re‑adhesion of debris, extending the cleanliness achieved by the prior steps.
Tips & Pro Tips
Always wear protective gloves when handling chemical solvents to prevent skin irritation. Test each product on a hidden section of the dashboard before full application; this precaution confirms colourfastness and surface compatibility. For dashboards with leather inserts, limit exposure time to any solvent and follow up with a leather conditioner to maintain suppleness.
When working on vertical surfaces, use a paper towel to dab the solvent onto the adhesive rather than pouring, as this reduces runoff. If the adhesive proves particularly tenacious, repeat the soaking step rather than increasing mechanical force, which could damage the finish. A soft‑bristle brush can be employed to agitate the solvent in textured areas, improving penetration without scratching.
Troubleshooting
Problem: Residue persists after the first application of a citrus‑based remover. Solution: Apply a second thin layer, extend the dwell time to ten minutes, and use a plastic scraper with gentle pressure. The additional contact time allows the citrus agents to further break down polymer bonds.
Problem: Surface appears cloudy after using 3M Adhesive Remover. Solution: Immediately wipe the area with a damp microfiber cloth, then dry. The cloudiness is often caused by solvent residue that can be removed with a water‑based wipe.
Conclusion
This guide has presented a systematic method for removing sticker residue from a car dashboard, emphasizing safety, effectiveness and surface preservation. By selecting the appropriate remover—citrus‑based Goo Gone for light films, 3M Adhesive Remover for heavy glue, and WD‑40 for final polishing—one can achieve a spotless interior without compromising material integrity. The outlined steps, combined with the practical tips, empower vehicle owners to maintain a professional appearance and extend the life of their dashboard surfaces.
Readers are encouraged to apply the process to future adhesive challenges, adapting product choice based on residue thickness and surface type. Consistent maintenance using the recommended tools will reduce the need for intensive cleaning and preserve resale value.
Products Mentioned in This Guide
Frequently Asked Questions
Which adhesive remover is safest for a car dashboard, 3M, Goo Gone, or WD-40?
3M Adhesive Remover is generally safest because it’s formulated for automotive plastics and minimizes risk of discoloration.
Can I use household items like rubbing alcohol to remove sticker residue from a dashboard?
Yes, rubbing alcohol works on many residues, but test on a hidden area first to ensure it doesn’t affect the dashboard finish.
How long should I let the remover sit on the residue before wiping?
Apply the remover, let it sit 30‑60 seconds to penetrate, then gently wipe with a soft cloth.
Will using a plastic scraper damage the dashboard surface?
A soft plastic scraper is safe when used lightly; avoid metal tools that can scratch the trim.
After removing residue, how can I protect the dashboard from future stains?
Apply a UV‑protectant or interior protectant spray to restore shine and create a barrier against dust and future adhesives.