How to Prep Your Dash and Trim for Vinyl Wrap: 3M Prep Solvent vs Isopropyl Alcohol vs Citrus Cleaner (Step-by-Step)
Introduction
Preparing the interior dash and trim for a vinyl wrap demands meticulous cleaning, surface decontamination and residue removal. This guide explains the complete process, compares the effectiveness of a dedicated 3M prep solvent, high‑purity isopropyl alcohol and a citrus‑based cleaner, and provides actionable steps that any experienced DIY enthusiast can follow. By following the instructions, one will achieve a contaminant‑free surface that maximises adhesion, reduces the risk of bubbles and ensures a professional finish that lasts for years.
What You Will Need
- Microfiber towels (lint‑free)
- Protective gloves and eye protection
- Plastic scraper or detailing brush
- Isopropyl alcohol (choose one based on availability and budget)
- Optional: Chemical Guys Wipe Out Cleaner for heavy wax or polish residue
- Optional: LAUCO Wax & Grease Remover for extreme grease or silicone contamination
Step 1 – Inspect and Remove Loose Debris
The first step is a visual inspection of the dash, door panels and trim pieces. Use a soft‑bristled detailing brush to dislodge dust, sand particles and loose adhesive remnants. Gently scrape any dried glue with a plastic scraper to avoid scratching the surface. This mechanical removal reduces the load on chemical cleaners and prevents the spread of particles during the wiping stage.
Step 2 – Choose the Appropriate Solvent
Three categories of solvent are commonly employed for vinyl‑wrap preparation:
- Dedicated 3M prep solvent, which contains a blend of surfactants and fast‑evaporating alcohols designed for automotive interiors.
- High‑purity isopropyl alcohol, which evaporates quickly and leaves no residue.
- Citrus‑based cleaners, which excel at breaking down oily residues but may leave a faint scent.
For most interior plastics, a 99% or higher isopropyl alcohol provides the best balance of cleaning power, rapid drying and low odor. The following products are suitable:
- Amazon Basics 99% Isopropyl Alcohol – 16 fl oz, price $5.94, rating 4.8/5 from 34,704 reviews. Its high purity ensures fast evaporation and minimal residue, making it ideal for delicate electronic‑grade surfaces.
- MAXTITE 99.9% Isopropyl Alcohol – four 32 oz bottles for $26.95, rating 4.8/5 from 6,854 reviews. The 99.9% concentration is the technical‑grade option for professional detailers who require the utmost solvent strength.
- Amazon Basics 91% Isopropyl Alcohol – 16 fl oz, price $5.59, rating 4.8/5 from 2,754 reviews. While slightly lower in concentration, it remains effective for routine cleaning and is often more economical for large‑volume use.
Select the product that matches the scale of the job and the desired drying time. For a single vehicle, the 16 oz bottle of 99% alcohol is sufficient; for a fleet or a workshop, the 4‑pack of 99.9% provides better value per ounce.
Step 3 – Apply the Solvent Correctly
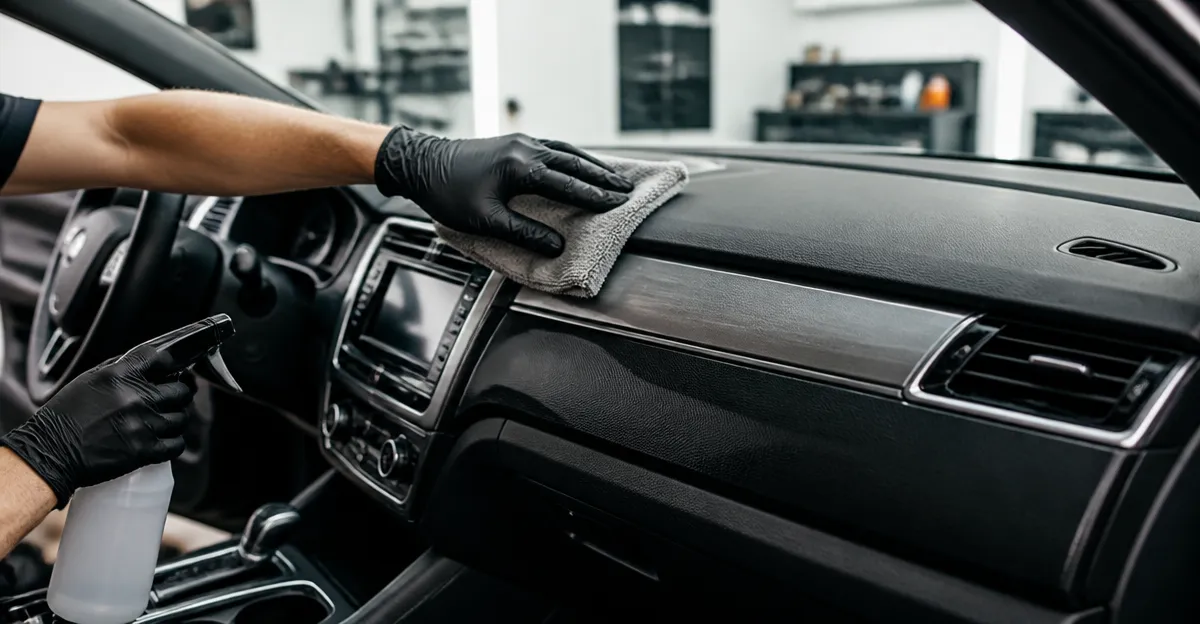
Pour a small amount of the chosen isopropyl alcohol onto a clean microfiber towel. Avoid saturating the towel; a damp surface ensures controlled application and prevents runoff onto electronic components. Wipe each panel using a linear motion, overlapping each pass by approximately 50 percent. The alcohol will dissolve oils, fingerprints, and residual cleaning agents. Allow the surface to air‑dry; the high volatility of 99%+ alcohol ensures that the surface is dry within seconds, leaving no streaks.
If a citrus cleaner is preferred for stubborn oily residues, apply it in the same manner but follow with a final wipe using isopropyl alcohol to remove any remaining citrus oil that could interfere with adhesive bonding.
Step 4 – Address Wax, Polish or Silicone Residue
Older interiors may contain waxes or silicone‑based protectants that resist alcohol alone. In this scenario, employ a dedicated degreaser before the alcohol step. The LAUCO Wax & Grease Remover (quart, $25.79, rating 4.6/5) is an industrial‑strength solvent that dissolves wax, grease and silicone without damaging plastic. Spray a light mist onto the surface, let it dwell for ten seconds, then wipe off with a fresh microfiber towel. Follow immediately with isopropyl alcohol to ensure a residue‑free finish.
For surfaces that have previously been treated with automotive waxes, the Chemical Guys Wipe Out Cleaner (16 oz, $10.99, rating 4.7/5) offers a lubricating formula that removes old polish while protecting the paint‑clear coat. Though primarily marketed for exterior work, its anti‑static agents prevent swirl marks during the wipe‑down, which is beneficial for interior plastics with a glossy finish.
Step 5 – Final Inspection and Dust Removal
After the chemical cleaning stages, inspect the dash under bright, angled lighting. Use a fresh microfiber towel to buff any remaining streaks. A final pass with a dry towel removes microscopic dust particles that could become trapped under the vinyl wrap. Verify that no oily sheen remains; a properly prepared surface will appear matte and free of any rainbow effect when viewed at an angle.
Tips & Pro Tips
- Always wear nitrile gloves and safety glasses when handling high‑purity alcohols; the vapors are flammable and can cause eye irritation.
- Work in a well‑ventilated area to disperse alcohol vapors quickly.
- Test a small inconspicuous area before applying any solvent to ensure the plastic does not become discolored.
- When using the 99.9% MAXTITE product, a dropper or syringe allows precise placement on tight crevices without overspill.
- Store all solvents in a cool, dry place away from open flames; the safety warnings on each bottle emphasise the risk of explosion if exposed to heat.
- If a citrus cleaner leaves a faint residue, follow with a quick wipe of 99% isopropyl alcohol to achieve a truly clean surface.
Troubleshooting
| Problem | Possible Cause | Solution |
|---|---|---|
| Surface remains oily after alcohol wipe | Heavy wax or silicone residue | Apply LAUCO Wax & Grease Remover, then repeat alcohol wipe. |
| Visible streaks after drying | Excess liquid or low‑quality towel | Use a lint‑free microfiber towel and apply less solvent. |
| Vinyl wrap does not adhere in certain spots | Residual cleaning agent or dust | Re‑clean the area with 99% alcohol and ensure complete drying. |
Conclusion
Proper preparation of dash and trim surfaces is the foundation of a successful vinyl‑wrap installation. By inspecting the interior, selecting the appropriate solvent—whether a 3M prep solvent, high‑purity isopropyl alcohol or a citrus cleaner—and following the systematic cleaning steps, one can achieve a contaminant‑free surface that promotes strong adhesive bonding. The recommended products provide reliable performance, fast evaporation and professional‑grade results, allowing both hobbyists and detailers to attain a showroom‑quality finish.
Products Mentioned in This Guide
Frequently Asked Questions
What is the best product for cleaning dash and trim before a vinyl wrap?
A dedicated 3M prep solvent provides the most reliable residue‑free surface, but high‑purity isopropyl alcohol or a citrus‑based cleaner are acceptable alternatives.
Can I use regular household isopropyl alcohol for prep?
Yes, but use 99% (or at least 91%) isopropyl alcohol to avoid leaving water or additives that could affect adhesion.
How do I remove stubborn wax or polish before wrapping?
Apply a citrus‑based cleaner like Chemical Guys Wipe Out, let it dwell, then wipe with a lint‑free microfiber towel.
What safety gear should I wear while prepping the interior?
Wear protective gloves and eye protection to avoid skin irritation from solvents and to keep debris out of your eyes.
How can I ensure no bubbles form under the vinyl after installation?
Fully decontaminate the surface, dry it with a lint‑free towel, and work in a dust‑free environment to maximize adhesion and minimize trapped air.