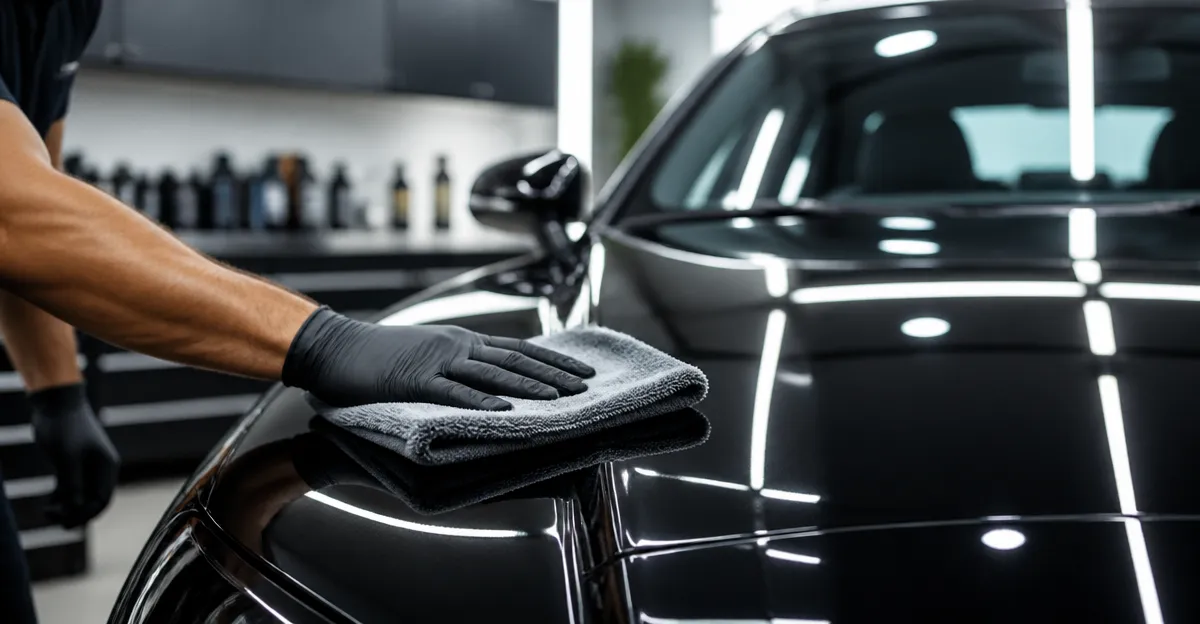
How to Remove Compound Haze After Polishing: Step-by-Step Guide to Restoring a Clear, Glossy Finish
Introduction
Anyone who has spent time polishing a vehicle knows the disappointment of discovering a milky, hazy film after the work is done. Compound haze is a thin layer of residual abrasive that can obscure depth, reduce gloss, and make the paint appear dull. This guide teaches the reader how to identify, eliminate, and prevent haze, ensuring a clear, glass‑like finish. By following each step, one can achieve professional‑grade results without expensive shop equipment, while also understanding why each recommended product is essential.
What You'll Need
- Microfiber wash mitt and drying towels
- Clay bar or clay mitt for surface decontamination
- Fine cutting compound (e.g., Meguiar's Ultimate Compound)
- Finishing polish (e.g., Meguiar's Ultimate Polish)
- Dual‑action polisher with appropriate pads (foam or microfiber)
- Clean microfiber towels for buffing
- Optional all‑in‑one ceramic polish & wax (e.g., Turtle Wax Ceramic Polish & Wax) for protection
Step 1 – Prepare the Surface Thoroughly
A clean, contaminant‑free surface is the foundation for any successful correction. Begin by washing the vehicle with a pH‑balanced shampoo, rinsing, and drying with a soft microfiber towel. Next, use a clay bar or a dedicated clay mitt to lift embedded particles such as tree sap, industrial fallout, and brake dust. The clay step creates a glass‑smooth substrate that allows the compound to work evenly.
Why this matters: Residual contaminants can become trapped beneath the compound, causing uneven haze and re‑contamination after polishing. A proper clay treatment eliminates those hidden particles, reducing the amount of cutting needed and preserving the clear coat.
Step 2 – Assess the Haze and Choose the Right Compound
Inspect the paint under bright, direct light at a 30‑degree angle. Haze appears as a milky veil, especially on dark finishes. If the haze is light to moderate, a fine cutting compound will suffice. For more stubborn haze, consider a more aggressive product such as Meguiar's Ultimate Compound, which features micro‑abrasive technology that removes scratches, swirls, and oxidation quickly without creating additional haze.
Product details: Meguiar's Ultimate Compound is priced at $13.97, carries a 4.4/5 rating from over 10,000 reviews, and is safe for clear coats. Its fast‑cut action makes it ideal for eliminating haze while preserving paint thickness.
Apply a pea‑sized amount of the compound to a clean foam applicator pad. Work in 2‑foot sections, using a dual‑action polisher set to 2,500–3,000 RPM with low pressure. Overlap each pass to ensure even coverage.
Step 3 – Remove the Haze with Controlled Polishing
After the compound has cut through the hazy layer (typically 2–3 passes), wipe the area with a clean microfiber towel to remove residue. If haze persists, repeat the process, but limit the number of passes to avoid thinning the clear coat.
Why the recommended pad matters: A light‑to‑medium cut foam pad provides enough aggression to lift haze while remaining forgiving for beginners. Using a more aggressive pad with the same compound can increase the risk of clear‑coat removal, especially on dark paint.
For those who prefer a two‑step system, the Chemical Guys C4 & P4 Kit offers a dedicated cutting compound (C4) followed by a precision polish (P4). C4 removes deep scratches and heavy haze, while P4 refines the finish to a mirror‑like gloss. The kit is priced at $37.99, has a 4.5/5 rating, and is safe on clear coats, single‑stage, and ceramic‑coated surfaces.
Step 4 – Refine with a Finishing Polish
Once the haze has been eliminated, the paint will still contain micro‑scratches from the cutting step. A finishing polish restores depth of color and high‑gloss reflection. Apply Meguiar's Ultimate Polish using a clean finishing pad (often black) at a lower speed (1,500–2,000 RPM). Work in small sections, allowing the polish to spread evenly before buffing off with a fresh microfiber towel.
Product details: Meguiar's Ultimate Polish costs $9.67, holds a 4.6/5 rating from 5,115 reviews, and is praised for its ability to add depth to dark paints while safely preparing the surface for wax. Its conditioning oils enhance gloss without risking the clear coat.
Why polish is essential: The polish fills micro‑imperfections left by the compound, creating a uniform, glass‑like surface that reflects light uniformly. Skipping this step often results in a finish that looks “cleaned” but lacks the deep, wet‑look shine that true detailing seeks.
Step 5 – Seal the Finish with Protection
After polishing, the paint is vulnerable to environmental contaminants. Applying a protective layer locks in the gloss and prevents future haze. For a quick, all‑in‑one solution, use Turtle Wax Ceramic Polish & Wax. This product combines a polish, wax, and ceramic coating, delivering a durable hydrophobic shield that repels water, dirt, and UV rays.
Product details: Priced at $15.00, it enjoys a 4.6/5 rating from 4,759 reviews. The ceramic infusion creates extreme water beading, while carnauba wax polymers provide a deep mirror finish. It is safe for hand or machine application and works on most paint types except matte finishes.
Apply a thin layer with a foam pad, allow it to haze briefly (30–60 seconds), then buff off with a clean microfiber towel. For maximum longevity, consider a second coat in direct sunlight, but avoid excessive heat that can cause the product to dry too quickly.
Tips & Pro Tips
- Work in the shade or a temperature‑controlled garage. Direct sunlight accelerates drying of compounds and polishes, making them harder to remove.
- Use fresh pads for each product. Re‑using a pad that has held wax or previous polish can introduce contamination and reduce effectiveness.
- Maintain a consistent overlap pattern (approximately 50%) to avoid streaks and ensure uniform correction.
- Test a small inconspicuous area before committing to the entire vehicle, especially on darker paints where aggressive cutting can be more visible.
- When using a dual‑action polisher, keep the speed low for polishing steps to prevent heat buildup that could melt the polish.
Troubleshooting
| Problem | Possible Cause | Solution |
|---|---|---|
| Haze returns after buffing | Insufficient compound removal or residue left on pad | Re‑wipe the area with a clean microfiber towel, then repeat a light polishing pass with a finishing polish. |
| Swirl marks appear after polishing | Using an overly aggressive pad or too much pressure | Switch to a softer finishing pad, reduce pressure, and ensure the polish is evenly spread before buffing. |
| Water spots form on the protected surface | Protection applied on a damp surface | Dry the vehicle thoroughly before applying any sealant; consider a quick de‑mist with a clean towel. |
Conclusion
Removing compound haze is a systematic process that begins with thorough cleaning, progresses through controlled cutting, and finishes with refinement and protection. By employing the right tools—such as Meguiar's Ultimate Compound, Meguiar's Ultimate Polish, and Turtle Wax Ceramic Polish & Wax, one can achieve a clear, glossy finish that rivals professional detailing shops. Consistency, patience, and attention to temperature will ensure the results last for months. Armed with this guide, the reader can confidently restore any vehicle to showroom brilliance.
Products Mentioned in This Guide
Frequently Asked Questions
What is compound haze and why does it appear after polishing?
Compound haze is a milky film of residual abrasive left on the paint when the cutting compound isn’t fully removed, reducing gloss and depth.
What are the essential steps to remove compound haze?
Wash the surface, decontaminate with a clay bar, polish with a fine cutting compound, then follow with a finishing polish using a dual‑action polisher and clean microfiber towels.
Can I remove haze without a dual‑action polisher?
Yes, you can hand‑apply the finishing polish with a soft foam pad, but a dual‑action polisher speeds up removal and yields more consistent results.
How can I prevent compound haze from forming in future polish jobs?
Work in small sections, use the correct pad for the compound, and thoroughly wipe off residue with a clean microfiber towel before moving on.
What’s the difference between a cutting compound and a finishing polish?
Cutting compounds remove heavier imperfections and oxidation, while finishing polishes refine the surface to restore high‑gloss clarity without adding swirl marks.